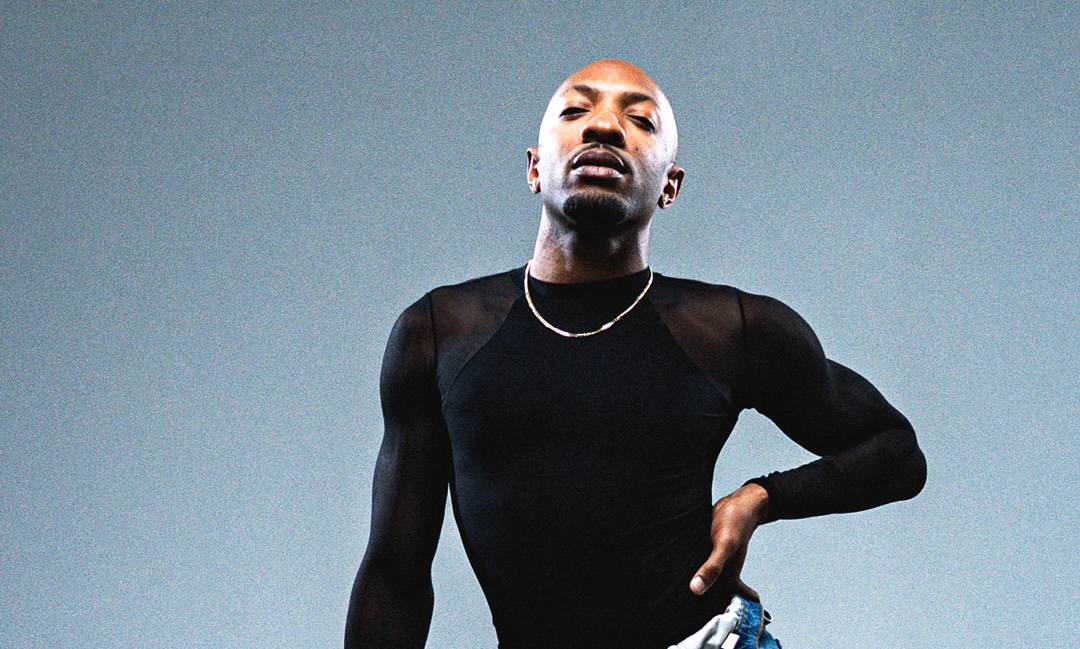
Popping dance is based on technique – which means that you have to condition your body to move in certain ways through repeated Popping exercises and Popping drills. After all, you can't perfect your body control or master isolations overnight!Charles Nguyen, Popper and choreographer from Poreotics, The Kinjaz, and Culture Shock LA, teaches us the most effective Popping exercises you can use to train your Popping basics.
Click here to learn about the history and techniques in popping: What Is Popping Dance?
Here are 7 Popping exercises that Charles recommends! Practice and apply these skills when you freestyle, do Popping choreography, or execute any other style of dance.
Popping Exercises for every day of the week!
Popping Exercise #1: Hitting
Relax and quickly flex your arm muscles to create a hit.
Get an in-depth explanation here: How To Hit
DIY (Drill It Yourself)
Do the Fresno – it's the perfect Popping exercise for beginners!

Extend each arm out, straight in front of you, parallel to the ground.Flex your muscles twice on one side, then switch arms.Left left, right right. Try this Popping exercise to slow paced Hip Hop / Funk music so you have more time to see how your body looks and feels. When you're more comfortable with the hits, try switching the weight on your feet to the direction of your hitting arm. This will add some groove to the Popping exercise. Kid Boogie teaches a whole lesson on The Fresno in his STEEZY Studio class. It's the perfect way to practice your hits! Try it for free by signing up now. Here's what you'll learn:
Popping Exercise #2: Dime Stops
A dime stop is when you reach another point or picture without any extra shaking or reverb in your body. It's a clean stop, like you're "stopping on a dime."
DIY (Drill It Yourself)
Stand or sit in any position you are comfortable in. Extend your arms out in any pose. Pivot your direction from left to right, but reach a complete stop without engaging any muscles. While you do this, be extra conscious of not flexing. Then, keep switching directions, pivoting from right to left and left to right. This Popping exercise sounds simple, but you'll find that dime stopping requires a lot of control! Do this dime stopping drill in a more complex position when you are ready to challenge yourself.


Popping Exercise #3: Ticking / Strobing
Ticking is when you break up your pathway of movement into smaller intervals.Your movement will look robotic and animated, sort of like a video is glitching.
DIY (Drill It Yourself)
Move your hand from your leg to your chest, little by little – just a few inches at a time.Then, switch up the pathway of your hand, ticking anywhere you go.
I literally say "tick tick tick" in my head while I'm doing this.
– Charles
Popping Exercise #4: Waving
Waving is when you fluidly move your body, like you're mimicking a literal wave in the ocean.Practice this Popping exercise by breaking down each part of the wave.

DIY (Drill It Yourself)
Start with your arm on your leg.Lift your wrist up, then pull your elbow up, then your shoulder, like you're shrugging. Repeat "pulling" those fixed points until it is embedded in your muscle memory. With this Popping exercise, you'll get used to detaching those points within your arm so that when you put it all together, your wave is polished and precise. Boogie Frantick's Waving class on STEEZY Studio takes you through different arm wave variations. Take a look:
Popping Exercise #5: Tutting
Tutting is a great Popping exercise for those who love creating geometric pictures and illusions.But for it to actually read, you need exercise your body awareness and precision.
DIY (Drill It Yourself)
Stick out your arms, and move your hands and elbows by 90 degrees each, experimenting with different pictures. Think of your arms as Tetris pieces. As you're twisting or pulling, study your angles in the mirror. Make sure your angles are nicely squared. In addition, your fingers should touch together, straight, as if they were resting on a flat surface – no duck hands! We have a whole class on Tutting basics with Slim Boogie on STEEZY Studio!
Popping Exercise #6: Gliding
Gliding creates the illusion of your feet floating across a surface.There are so many variations of the glide, but first you want to feel comfortable moving across 1 plane.

DIY (Drill It Yourself):
Glide to the left and back to the right.Do this by putting your weight on one foot, pushing that heel down, scooting the other foot out (weight shifting on to it), and bringing on the first foot back in using your toe.Repeat this with the opposite foot.
Boogie Frantick teaches Glides and in a STEEZY Studio class here!
Popping Exercise #7: Isolation / Fixed Point
Isolation is when you move a part of your body without moving anything else.A fixed point is when you don't move one part of your body and the rest moves around it.
DIY (Drill It Yourself)
Extend your arm out, as if your hand is flat against an imaginary wall. Then, move your body to the left and right, without moving your hand. The place where you put your hand is the fixed point. Repeat this Popping exercise using different body parts, like a finger or your head.

Take It To The Studio
Popping choreography incorporates different popping techniques, and can be integrated with other styles like hip hop, contemporary, jazz funk, anything.
– Charles Nguyen
Training with these Popping exercises will help you execute choreography with better textures, musicality, and body control. Try it out with Charles' class on STEEZY Studio.
The careful timing and precise movements of Charles' choreography will help you gain better body awareness, and give you different ways to play with your Popping technique!
If you want to focus on getting a technique down right, you have to repeat it over and over again. That's why we made Clay's 7 Days of Hits Program on STEEZY Studio. Each day, you'll practice hitting with a different part of your body, or learn a new concept like textures or timing.


